If you’ve ever wished for a single place where you can track every place you’ve visited, pin your travel plans, and attach your photos, videos, and memories — Google My Maps might become your new favourite tool.
I started using it to organise my UK travels, and honestly, it has turned into a quiet little travel diary of its own — a map that remembers for me.
In this guide, I’ll take you through everything you need to know so you can create your own personalised travel map too.
🌍 What Is Google My Maps?
Google My Maps is a free tool by Google that allows you to create your own custom maps.
Unlike regular Google Maps (which helps you navigate), My Maps lets you:
- Add your own markers
- Attach photos, YouTube videos, and notes
- Draw routes, lines, shapes
- Create layers to organise your map
- Share it privately or publicly
- Embed it into your website or blog
Think of it as a digital scrapbook for travellers — a map shaped by your own stories.
📍 Why Travellers and Vloggers Should Use It
Whether you’re a photographer, a vlogger, or someone who loves documenting journeys, My Maps becomes a powerful storytelling tool:
- Track everything you’ve experienced
- Pin the places you’ve captured on camera
- Show your audience where each vlog or blog was made
- Plan future trips visually
- Save hidden spots others recommended to you
- Share a beautiful, interactive map with your viewers
Your map becomes your travel dashboard — planning, recording, and sharing all in one place.
🧭 How to Create a New Map
Creating your first map is simple:
- Go to Google My Maps
- Click “Create a new map”
- Name your map (example: Imprints of the Isles, or Europe Journey)
- Start adding markers by clicking the pin icon
That’s it. You’re already building your personalised atlas.
🗂️ Understanding Layers (Your Map’s Secret Superpower)
A layer is like a folder inside your map that holds a certain type of pins.
For example, you can create layers for:
- Imprinted (places you’ve experienced)
- Video Echoes (YouTube vlogs)
- Story Chapters (blog posts)
- Food Spots
- Future Trails (planned places)
You can switch layers ON/OFF anytime.
It keeps your map clean and beautifully organised.
📌 Adding Markers: Places That Left a Mark
Markers are the heartbeats of your map.
Click anywhere on the map → Drop a marker → Add your own details:
- Title
- Description
- Photos
- YouTube links
- Website/blog link
- Travel dates
- Personal notes
This turns your map into a memory capsule.
🎥 Adding YouTube Videos & Photos
One of the best features for vloggers and photographers:
To add a YouTube video
- Click a marker
- Click Edit
- Paste your YouTube link directly in the description
- It becomes clickable instantly
- Your viewers can watch it right from the map
To add photos
- Edit the marker
- Click Add Image
- Upload from your device or Google Photos
- Add multiple if you like
This transforms each pin into a mini story-hub.
🛣️ Adding Routes & Paths
Planning a road trip?
You can draw routes:
- Road journeys
- Walking paths
- Cycling routes
- Travel sequences
Use the “Draw a line” tool to connect places and map the entire flow of your trip.
Perfect for travel planners and adventure seekers.
🔒 Sharing: Private, Public, or Just With Friends
Your map can stay:
- Private (only you)
- Shared with selected people
- Public (for your audience)
You can even embed it in your blog or website, which is great for travel bloggers and content creators.
📸 Benefits for Travellers & Photographers
✔ One place to record all travels
No need for multiple notes, saved posts, screenshots — everything lives in one interactive map.
✔ Visual memory journal
You remember places with emotion; My Maps connects them visually.
✔ Easy planning
Future trips look clearer when laid out on a map.
✔ Showcase your journey
For vloggers and bloggers, it’s an elegant way to show where each story was filmed.
✔ Great for organising content
You can quickly see which locations still need blogs, reels, or videos.
✔ Inspires your audience
People love exploring where you’ve travelled — your map becomes a shared adventure.
🧩 My Recommendation: Build Your “Travel Universe”
Create one map per country, then organise layers inside it:
- Imprinted — the places you’ve experienced
- Video Echoes — YouTube videos shot there
- Story Chapters — blog articles
- Food Corners — places you enjoyed
- Future Trails — planned visits
This keeps everything beautifully structured.
🎒 Start Your Travel Map Today
Once you begin adding places, you’ll be surprised how quickly the map becomes part of your travel identity. It’s not just data — it’s a living memory.
And here’s the fun part…
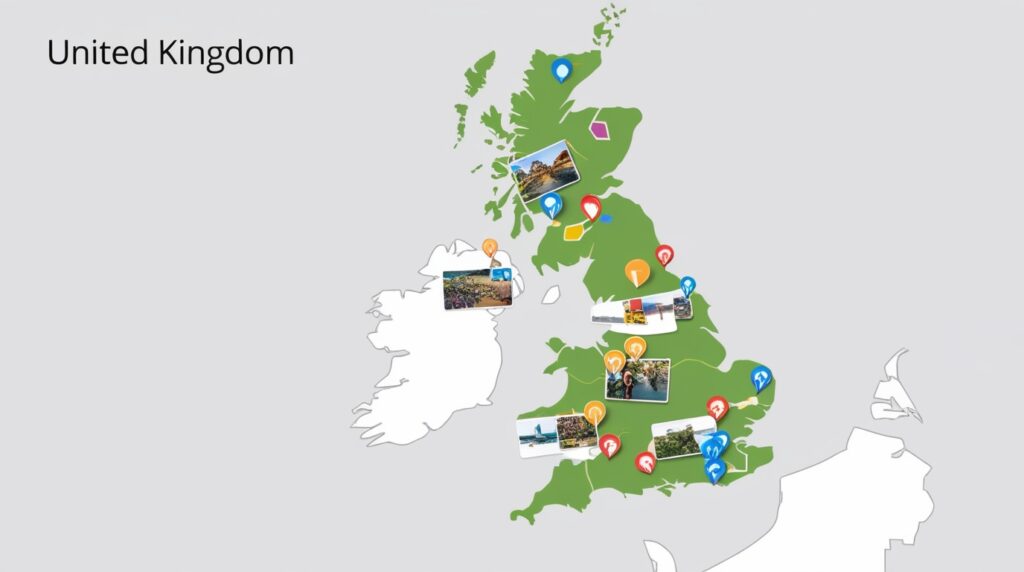
I’m building my own UK travel map right now — “Imprints of the Isles.”
I’ll be adding all the cities, spots, and stories that left their marks on me.
You can check it out here once it’s ready.
If you already have your own travel map,
share it in the comments — I’d love to explore your journeys too. 🗺️✨